
The IP address 192.168.100.1 serves as the industry standard diagnostic and management interface for standalone DOCSIS cable modems, fiber optical network terminals (ONTs), and select ISP gateways operating in bridge mode.
Resolving Subnet Conflicts and Router Blocking
The most common technical obstacle preventing users from loading 192.168.100.1 occurs when accessing a cable modem through a downstream Wi-Fi router. This failure stems from two network routing mechanisms:
- Subnet Collision: If your home Wi-Fi router assigns local client IP addresses within the
192.168.100.0/24subnet (for example, assigning your computer192.168.100.50), your computer treats192.168.100.1as a local address on the home Wi-Fi network. The connection request never leaves the local LAN and never reaches the cable modem attached to the router's WAN port. - WAN Ingress Filtering: Consumer routers implement firewall rules preventing RFC 1918 private address traffic from routing out through the WAN port. When a computer sends packets destined for
192.168.100.1, the router drops the packet rather than bridging it upstream to the modem.
To bypass router blocking, connect your computer directly to the cable modem via Ethernet and configure a temporary static IP address as shown in the architecture topology below:
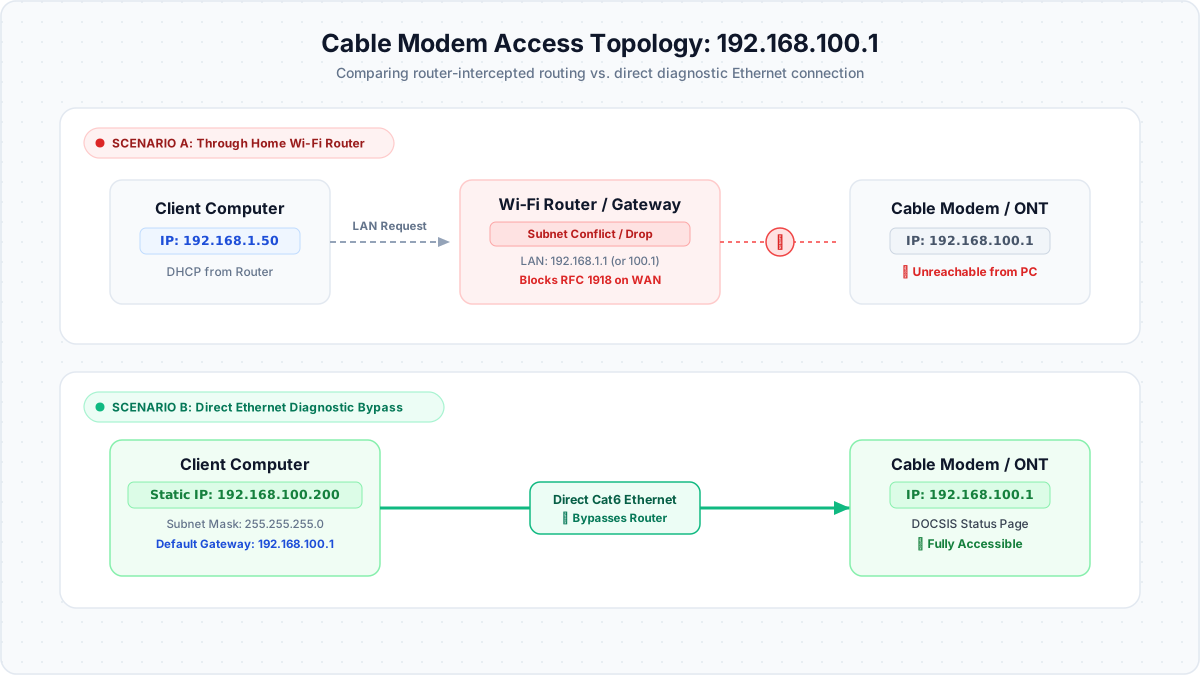
Figure 1: Direct Ethernet connection bypasses local router subnet conflicts to reach 192.168.100.1.
Configuring a Static IP on Windows
If your computer does not automatically receive an IP address when plugged directly into the cable modem, assign a manual IP:
- Press
Windows Key + R, typencpa.cpl, and press Enter to open Network Connections. - Right-click your active Ethernet adapter and select Properties.
- Select Internet Protocol Version 4 (TCP/IPv4) and click Properties.
- Select Use the following IP address and enter:
- IP address:
192.168.100.200 - Subnet mask:
255.255.255.0 - Default gateway:
192.168.100.1
- IP address:
- Click OK, then open your browser and navigate to
http://192.168.100.1. - Important: After completing modem diagnostics, return to this dialog and select Obtain an IP address automatically (DHCP) to restore standard Internet connectivity.
Verifying Your Default Gateway Before Login
If you are attempting to configure a home Wi-Fi router rather than a standalone modem, verify your actual gateway IP before troubleshooting. On Windows:
- Open the Start Menu, type
cmd, and press Enter. - In the Command Prompt window, type
ipconfigand press Enter. - Locate your active Wi-Fi or Ethernet connection and note the address listed next to Default Gateway.
If your Default Gateway shows 192.168.1.1, 192.168.0.1, or another subnet, use that address to manage your router. For detailed instructions across macOS, Linux, iOS, and Android, refer to our comprehensive guide on how to find your default gateway on Windows, Mac, or mobile devices.
Troubleshooting Access Failures
If 192.168.100.1 fails to respond, complete this structured recovery sequence:
- Check for Typographical Errors: Ensure you have not entered
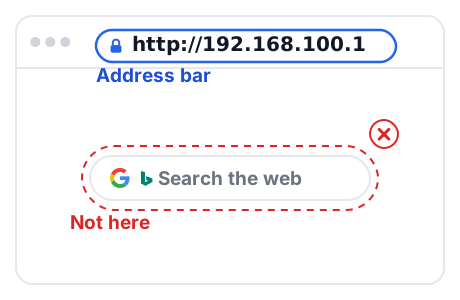
192.168.l00.1(using the lowercase letter 'l') or192.168.100.1.com. Browser search bars frequently treat misformatted addresses as search queries. Always prependhttp://when necessary. - Bypass VPNs and Web Proxies: Corporate VPN tunnels and web filtering software intercept private network traffic. Disable all active VPN connections and proxy profiles before navigating to
192.168.100.1. - Clear Browser Cache or Use Incognito Mode: Cached HTTP redirects or expired HTTPS sessions can trigger connection errors. Open a private browsing window to bypass local browser cache.